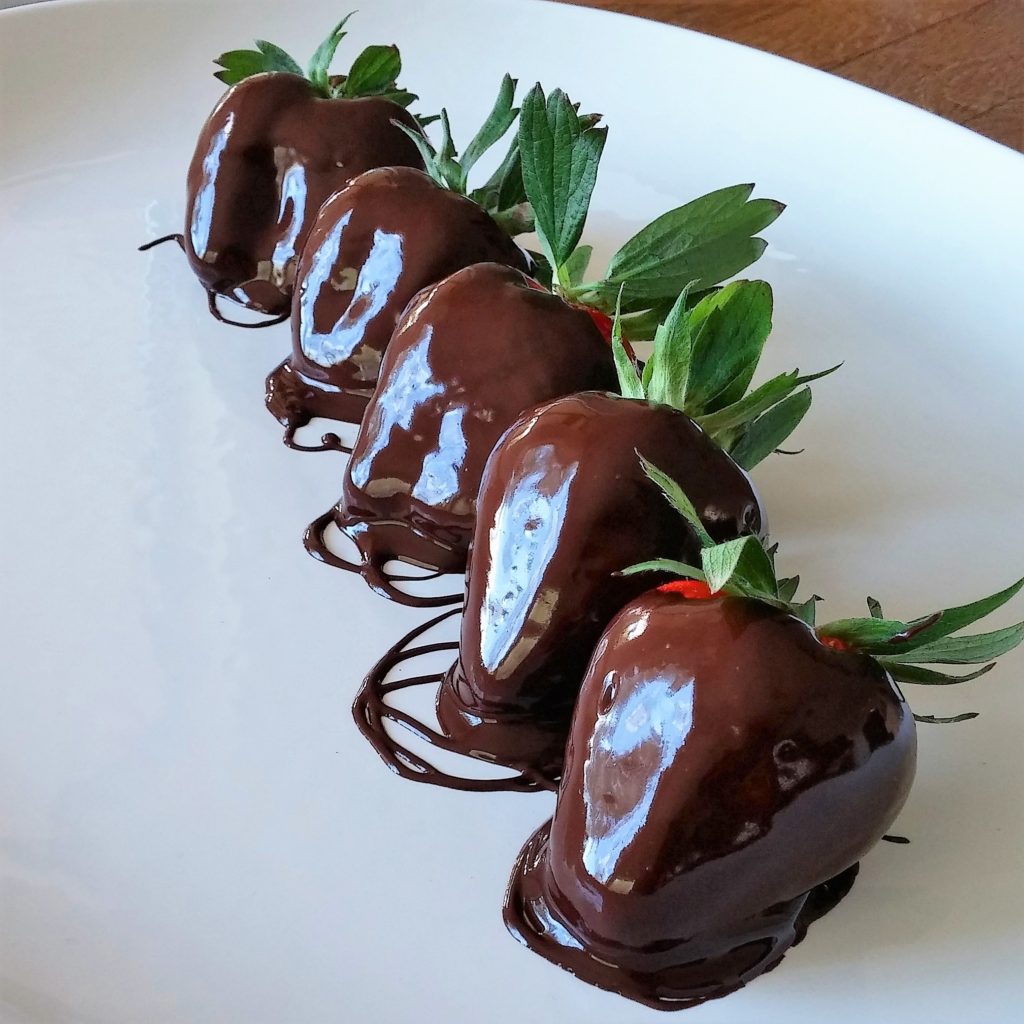
Chocolate Covered Strawberries
Copyright 2017 by Jacqueline Peppard, all rights reserved
Tried and failed before?
There couldn’t be an easier dessert recipe to make, but there are secrets you must know. Does your chocolate seem thick and hard to dip your strawberries in? Or your berries look like unattractive lumps of…well you know what I mean.
The Secret to Success.
The answer to success lies in the strawberry and chocolate preparation. In this recipe, I reveal the secrets, so you can make sexy rockstar chocolate covered berries!
Learn how to melt chocolate.
The most important ingredient is the chocolate. Here you will learn how to melt chocolate for perfect and beautiful results every time.
If you are a chocophile, this is basic skill is well worth mastering for drizzling over or dipping fruit and baked goods. Once you master the process, you will wonder what all the fuss is about.
The key to creating perfect dipping chocolate is to slowly heat at low temperature. This prevents drying out the chocolate by overheating, or worse yet burning, from which, there is no redemption. Microwaving is my preferred method – it is super fast and easy, but the double boiler method is also explained.
Not all chocolate is made the same.
Chocolate products vastly differ in their use of sugar, fat, emulsifying additives, and moisture content and the temperatures they are processed at. While cocoa butter naturally occurs in chocolate, some will have added cocoa butter, some use soy lecithin to emulsify, while others may have a combination of both. Some bittersweets have sugar listed as the number one ingredient when it should be second in line to the chocolate liquor (equal amounts of chocolate solids and cocoa butter). All these factors combine to make it variable in its texture and melting points and sometimes difficult to ascertain when you should stop heating it.
Some recipes call for adding a few tablespoons of oil or cream to add body. I have tried adding oil, but I see no reason or benefit in doing so. Quality chocolate has plenty of inherent fat content in the form of cocoa butter, so there is no need to add yet more.
Okay, so maybe you blew it – now what?
Some low quality chocolate chip brands never completely liquefy to the consistency necessary for dipping. If your chocolate doesn’t drizzle freely from a spoon and all chips or chunks have completely melted upon stirring, then you will need to add hot water.
You can most times save thick or overheated microwaved chocolate by whisking in hot water a teaspoon to a tablespoon at a time until the silky consistency is reclaimed.
Equipment:
Microwave proof glass bowl or stove top double-boiler
Heatproof spatula or spoon
Wax paper
Baking sheet
Ingredients:
1 pint-basket (1 pound) fresh strawberries – larger varieties better
12 ounces dark chocolate chips or chocolate bars chopped
Instructions:
Strawberries: Wash strawberries under cold water, drain, and spread out on a towel covered with paper towels. Pat moisture away with additional paper towels. Air-dry and rotate occasionally until each strawberry is completely dry (about 30 minutes). As they are drying, I gently coax the leaves up and away from strawberry. Important – Your strawberries must be perfectly dry before dipping.
Prepare Baking Sheet: Line a baking sheet with wax paper or parchment paper; set aside.
Chocolate: All equipment and strawberries should be perfectly dry to eliminate moisture drops from seizing up the chocolate.
You need a microwave proof glass bowl or a stove top double-boiler. Choose a deep glass bowl with a bottom smaller than the top and just big enough to contain the total chocolate amount needed. The point here is make dipping easy by concentrating the chocolate in a deep small area rather than having it spread out over a shallow wide bowl. If using a double-boiler, you may want to have a small bowl ready to transfer chocolate to for dipping.
To Microwave:
If using cream, warm for 15-30 seconds in the microwave; set aside.
Place chips or chocolate cut into 1/2 inch chunks, in a glass bowl. Begin by microwaving chocolate in 30-second increments. Complete first 30 seconds and stir non-melted chocolate into melted. Heat for another 30 seconds; then stir and mix chunks of non-melted chocolate into melted again.
Optional Cream: You may want to add three tablespoons of cream to every three ounces of chocolate to create a creamier, lighter, milk chocolate appearance and taste without the extra sugar milk chocolate usually contains.
Continue heating then stirring in 30-second increments and STOP when the majority of the chocolate has melted but not all. This step is where most people fail and overheating can occur. A small 12 oz package of chips seem to melt faster, and they may be done in less than one minute. Chunks will most likely need to heat 30 seconds longer than chips.
Gently stir the chocolate until it is silky, glistening, and completely melted. Chocolate should drizzle freely from the spoon. Be cautious with the last increment. Too much heat will ruin the chocolate and its velvety texture.
While all microwaves and chocolate vary in nature, you really can’t go wrong using the 30-second increment rule. When in doubt, go for less time and stir to finish the melting process. You can always heat it a bit more if needed in 10-second intervals. As an example: for 9 ounces of chocolate chunks, my microwave process usually takes three 30 second intervals for about 90 seconds total. But you may need an additional 10 -20 seconds depending on your microwave and chocolate.
Using a double-boiler:
Fill the bottom portion of the double-boiler with a couple inches of water and bring to a boil on high and then turn down to medium low heat for a gentle simmer. The water should not be at a roiling boil when placing the upper pan above it. Place upper pan containing chocolate bits (and optional cream) over the lower pan containing water. Water in below pan should be hot, and barely simmering. Stir until smooth and glossy. Again, chocolate should drizzle freely from the spoon. This will take at least 10 minutes of patient nursing.
You could also improvise with a small sauce pan filled with a couple inches of water and bring to a boil. Remove sauce pan from heat and place your chocolate filled glass bowl over it and stir until chocolate melts. Reheat water if necessary.
Dipping: Now we get to the fun part.
IMPORTANT – Berries should be room temperature before dipping.
Grasp strawberry by the top leaves and gently pull them back and away from berry until all are nestled in your fingers; lower bottom tip into the chocolate. Rotate strawberry as needed to completely coat in chocolate. Lift strawberry straight up and let excess chocolate drizzle back into bowl.
Transfer dipped strawberry to the lined baking sheet; do not disturb once you have placed the strawberry down. Repeat dipping process until all remaining strawberries are coated.
Let the strawberries rest until the chocolate coating is set. I like to refrigerate them to speed the hardening process, and it is perfectly fine to do so. However, make sure you bring them to room temperature before serving (about 30 minutes). If not eaten within the day, cover when completely cooled and refrigerate. They will keep up to a week.
Variation:
Melt 3 ounces of white chocolate while chocolate is drying on the counter (do this before refrigerating). Dip a small spoon into melted chocolate, let excess drip back into bowl and drizzle white chocolate across each strawberry.