Butterflied Grilled Chicken
Copyright by Jacqueline Peppard, all rights reserved.
OMG!!! You can cook a butterflied chicken in the time it takes to put your groceries away?
Well, almost. Seriously though, once you master the butterfly technique, it’s effortless. Grilling or roasting a chicken this way is also known as “spatchcock” – who thought up that ridiculous word, it sounds perfectly obscene.
The meat cooks evenly and faster than other methods, and is a short cut to creating the most delicious chicken ever. The process may seem a little daunting to some (maybe your butcher will remove the spine and breastbone for you faint of heart), but honestly, it’s SO easy to do.
Learning the art of butterflied chicken is like learning a life skill, well, kind of like learning to swim. You never know when you will need it.
Family and friends will think you absolutely brilliant.
Barbecuing becomes a snap. You don’t have to mess around strategically moving each individual piece like in a chess game to ensure all is cooking perfectly. One flip of the bird and you are done – ha, take that you sad past forays into the roast chicken realms!
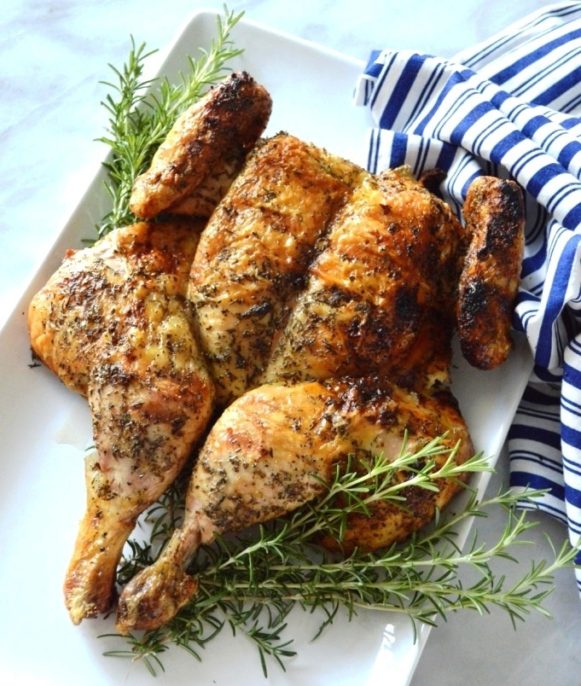
The end result is crispy skin, moist and juicy chicken that presents beautifully on the plate and is simply scrumptious.
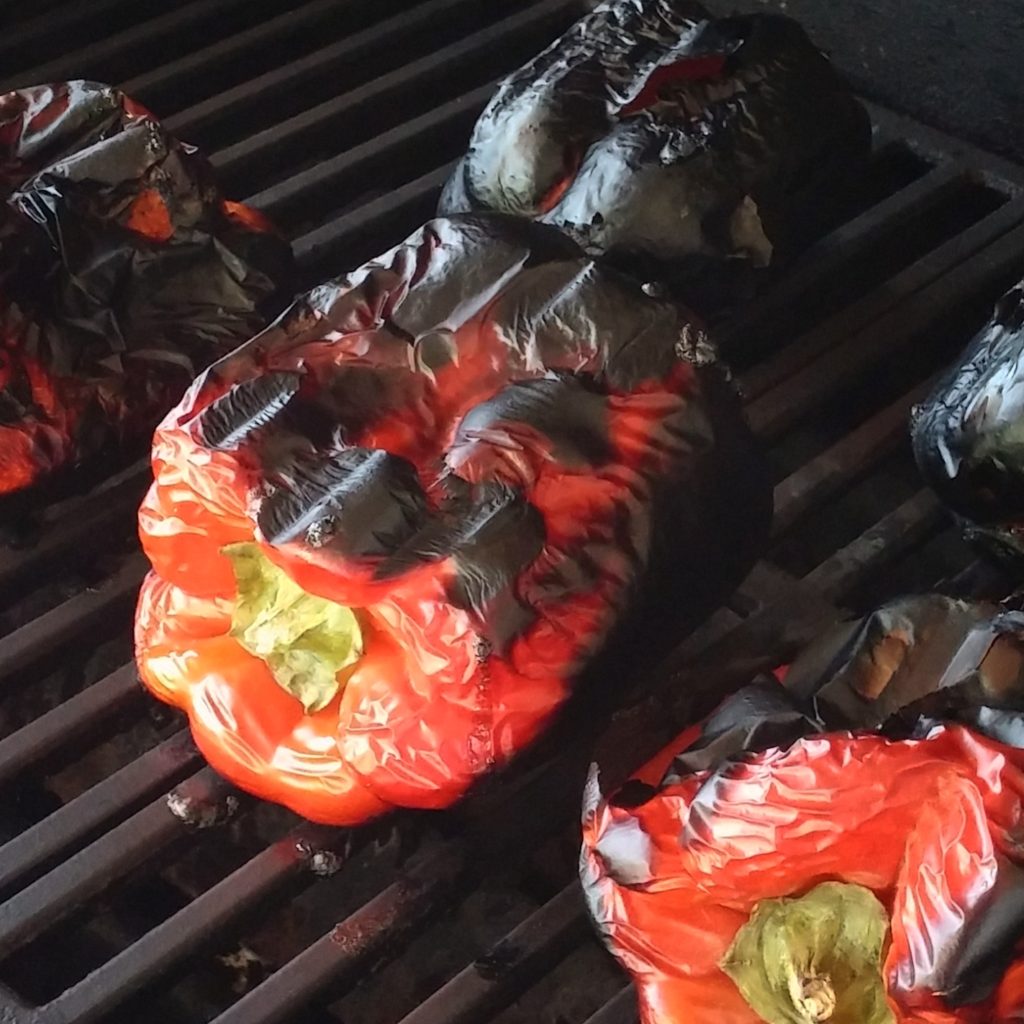
Duh…you will ask yourself why you haven’t thought of this before. Throw on some veggies coated with olive oil to grill or roast along side chicken for a one pan dish.
Cheap too – Waste Not Want Not.
Purchasing a whole chicken is the most cost effective way to eat organic pasture raised meat. You will get more meals out of a whole organic chicken than a package of Tyson breasts and for less money pound per pound. A whole chicken can create at least 4 meals, if not more (think chicken enchiladas). You can freeze the backbone, breast bone, neck, gizzard and other bones for later (which will still have some meat and cartilage on them) and make nutritious chicken broth. Don’t throw away the bones as you eat the meat, but toss them in with the other parts already frozen.
Oh yeah, and with the money you save, you can buy yourself a bottle of wine – awesome!
Be Prepared – Kitchen Tools
Investing in a good pair of kitchen shears will make your life much easier and safer too, not only for this project, but for a multitude of others. If using a knife, make it a sharp (I do mean sharp) 8 inch chef knife. You will need a paring knife to release the breast bone. A large nine inch spatula is perfect for turning the butterflied chicken and fish fillets. Having the precise tools necessary for the task will keep the frustration level down and keep you happily cooking. Purchase quality, so you can keep using into perpetuity, for example, some of mine date back 40 years, yes, no kidding.
Okay, so here’s how it is done:
The recipe serves 4 but forget about leftovers. Maybe cook two, just in case you can’t stop yourself.
Ingredients:
4-5 pound chicken
Olive oil
Dried whole leaf thyme, marjoram, rosemary or sage
Garlic powder
Salt and pepper
Debone: Cutting with shears: Begin by placing chicken on its breast with backbone facing you. Start by holding tail and cut up the side of backbone (not through center but to side of backbone) working your way up to the neck. Stay as close to the backbone as you can, and exert enough pressure to cut through the rib bones. Repeat on other side and lift out backbone; open up chicken to lay flat with cavity side up.
Cutting with a knife: Begin by sitting the chicken on its butt, with backbone facing you. Starting with neck, cut down the side of the backbone and work down to tail. Stay as close to the backbone as you can, and exert enough pressure to cut through the rib bones. Repeat on other side and lift out backbone; open up chicken to lay flat with cavity side up.
To remove breast bone: Removing the breast bone will help it cook faster and more evenly. At the top of the rib cage, at bottom of where neck would attach, is a white spot composed of cartilage. With a paring knife, slice through the whitish mass down to breast bone underneath; using both hands on either side of breast bone, splay the two sides of the breast back and twist to expose the top of the breast bone. Now run your finger down the left and right sides of the breast bone to release it from flesh, and at very end of bone, use one finger to get under and pop the tip away. Breast bone should now lift out easily in a single piece.
Here is a great step by step video showing how to butterfly chicken – the best I have seen and in particular, shows you how to pop that breastbone out.
To Cook: Preheat grill to medium low (350 degrees).
Generously coat all surfaces of chicken with olive oil. Don’t get stingy here, generously rub both sides with dried thyme, marjoram, and rosemary or sage leaves (optional), garlic powder, salt, and pepper. Re-apply if necessary to thoroughly cover with herbs. Rotate legs in for a knock-kneed look. Fold chicken wing tips behind back.
Place chicken cavity or bone side down on heated grill. Close lid and cook 25 to 30 minutes (depends upon weight). Flip chicken over and cook another 25 to 30 minutes. For perfect timing, use a meat thermometer inserted into meat of thigh, but do not touch bone; cook until it registers 170 degrees.
Let rest 20 minutes before cutting. Chicken will keep cooking as it cools, and the juices will remain in the meat.
To Roast: Preheat oven to 450 degrees. Place on a broiler pan lined with aluminum foil bone side down, skin up, and cook for 15 minutes; reduce heat to 375 thereafter. Cook for 30 minutes additional time for a 4 pounder and up to an hour for a 5 pounder. Let rest 20 minutes before carving. If you have a meat thermometer, breast should register 150 degrees or leg 170 degrees before removing from oven.
Like what you see?
While this recipe is open to all, some are exclusive and available for subscribers only. Don’t miss out! Sign up and receive monthly recipes in your email box, future exclusive recipes, private Q&A’s, giveaways, blog post notices, and more!